5 New Things I Learned At Glasgow Print Studio (For Starters!)
Rediscovering the Joy of Printmaking at Glasgow Print Studio
On the first weekend in November, I eagerly embarked on a collagraph weekend workshop at Glasgow Print Studio. Led by the talented printmaker Gayle Robinson, the workshop promised to refresh and invigorate my passion for professional development in printmaking. It had been far too long since my last workshop experience; pre-Covid seemed like a distant memory.
I had first encountered Gayle at Printfest in Ulverston back in 2009. Her vibrant and intricately detailed prints caught my eye, and I had eagerly purchased several of her greeting cards. So, when I discovered that she would be leading a collagraph course at Glasgow Print Studio, just a stone's throw away from where I lived, I knew I had to seize the opportunity.
I arrived at the studio bright and early. Due to the ferry crossing, I had arrived well before Gayle and the other participants, affording me a chance to venture into the atrium beforehand, where I was immediately drawn to two beautiful Barbara Rae prints, carefully stretched on boards, gently drying. I had been disappointed to miss her recent exhibition.
Nevertheless, my disappointment soon dissolved when the workshop commenced. Gayle's warm and welcoming demeanor instantly put everyone at ease. Her expertise shone through as she deftly guided us through the intricate process of her approach to collagraph printmaking.
The weekend workshop proved to really useful. Under Gayle's expert teaching, I was able to refine my techniques and explore new avenues in collagraph printmaking. The studio's conducive environment and the camaraderie among fellow participants further enhanced the experience.
Armed with newfound knowledge and enthusiasm, I took my own prints home with renewed excitement to experiment and explore new ideas further. With Glasgow Print Studio right on my doorstep, I knew that this would not be my last foray into the world of professional printmaking workshops.

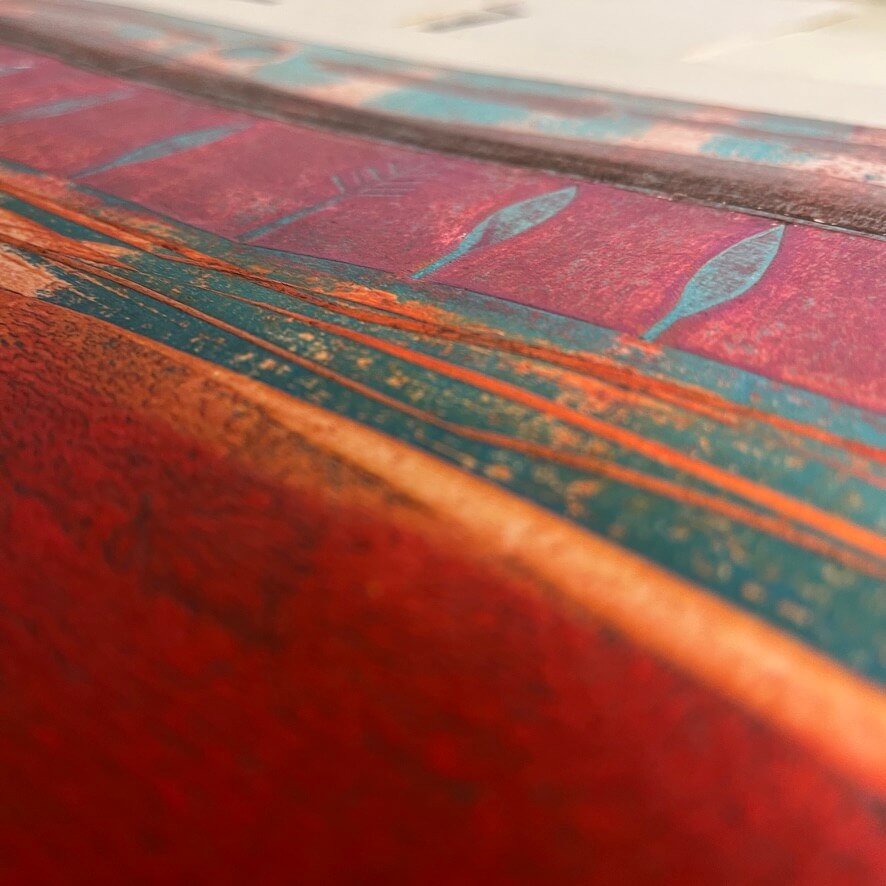
Before delving into the workshop activities, Gayle treated us to a viewing of the current project in the editioning suite at Glasgow Print Studio. Three gorgeous perspex plates eagerly awaited the next session of inking by the talented master printmakers entrusted with producing Scottish artist and printmaker, Barbara Rae’s newest print edition. The plates, notably large, were a glimpse into Barbara’s intricate process behind the creation of her inspiring prints. I felt very privileged. I took away some mental notes as a very large penny dropped in how I might tackle some of my process conundrums.

A close up of one of the three Barbara Rae carborundum plates

Another close up of Barbara Rae’s carborundum plates
Can I learn anything new on a collagraph course?
The answer is a resounding YES!
This particular course was tailored for intermediate to experienced printmakers. Even with a solid foundation in making collagraph plates, there is always room for growth and experimentation.
Every printmaker has their unique approach and style. This course provided an opportunity to learn from an experienced professional and gain some new insights. It was fascinating to see how Gayle tackles similar challenges and found solutions to bring her prints to life. During the workshop, I discovered a couple of valuable tricks that I am eager to try out in my studio. These techniques have the potential to simplify some of the more complex aspects of my work, allowing me to achieve my desired results more effectively and efficiently.
One minor frustration I had was that I didn't bring any pre-made plates to the workshop. It was an option that I decided against and then regretted. I ended up creating four new plates on the first day. Unfortunately, the sealing process for the plates at the workshop involved yacht varnish instead of the waterproof PVA that I typically use now. Consequently, my plates were slow to dry. That meant printing by the end of the first day was not an option. Despite this setback, there were numerous demonstrations throughout the workshop, and I had the opportunity to observe what the others were working on.

My Four Plates

This was the first plate I made - using a combination of ferns, PVA and carborundum. I knew this was a risky strategy. Plants don’t stick down easily with PVA. I would normally use gesso but there was none or texture paste.

Plate 2 was made using an old envelope, feathers and PVA. Also a risky strategy - feathers are difficult to use. The spine was too thick, especially when using PVA to stick it down, so I had to slice through it to reduce its height.

Plate 3 combines carborundum, PVA and tissue. I cut the pebbles out once the tissue was dry exposing the fluffy texture under the top surface.

Plate 4 was a total and not entirely unsuccessful experiment. Note to self … Acetate cannot be relied on to stick to the plate surface. I painted PVA and carborundum to the surface and tissue paper pebbles from plate 3 and textured wallpaper.
What did I learn?
PVA is a bad choice for sticking down natural materials and acetate. I did know this actually but in the absence of the materials I would use I didn’t have much choice.
I prefer Hawthorn Printmaker Suppliers inks. I find them much easier to work with. GPS use Intaglio inks but I was reminded why I don’t like to work with them. I ind them too sticky and stiff and yes, it is possible to add linseed oil or extender to make them more workable but I still prefer Hawthorn. As it was I found the inks made inking up my plates very hard work which in turn resulted in some elements like the ferns detaching themselves from the plate so I had to be much slower and more careful with the inking up process.
Off-printing or over-printing while previous layers are still wet reduces the intensity of the pigment. Who knew? Well probably everyone else but me!
Solution? Allow the prints to dry between each layer. I’m looking forward to seeing what results I can get.
Off-set printing for multi-plate printing. Again, this simple solution will resolve the conundrum I’ve been trying to get my head around. It’s so simple! Why did I not think of it before?
There is much further work to be done as a result of the course. I’m looking forward to further experiments in the studio. Watch.This.Space!
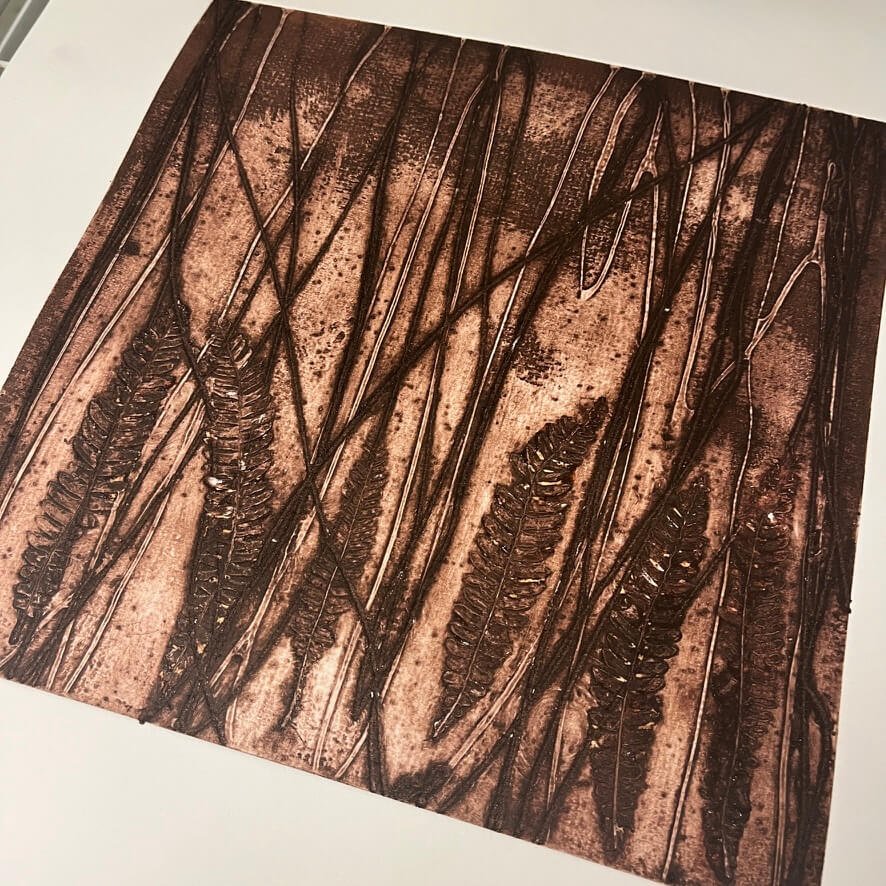
This was the first proof from the first plate I made. I couldn’t wipe as much ink off the ferns for fear of losing them as happened to one of them.
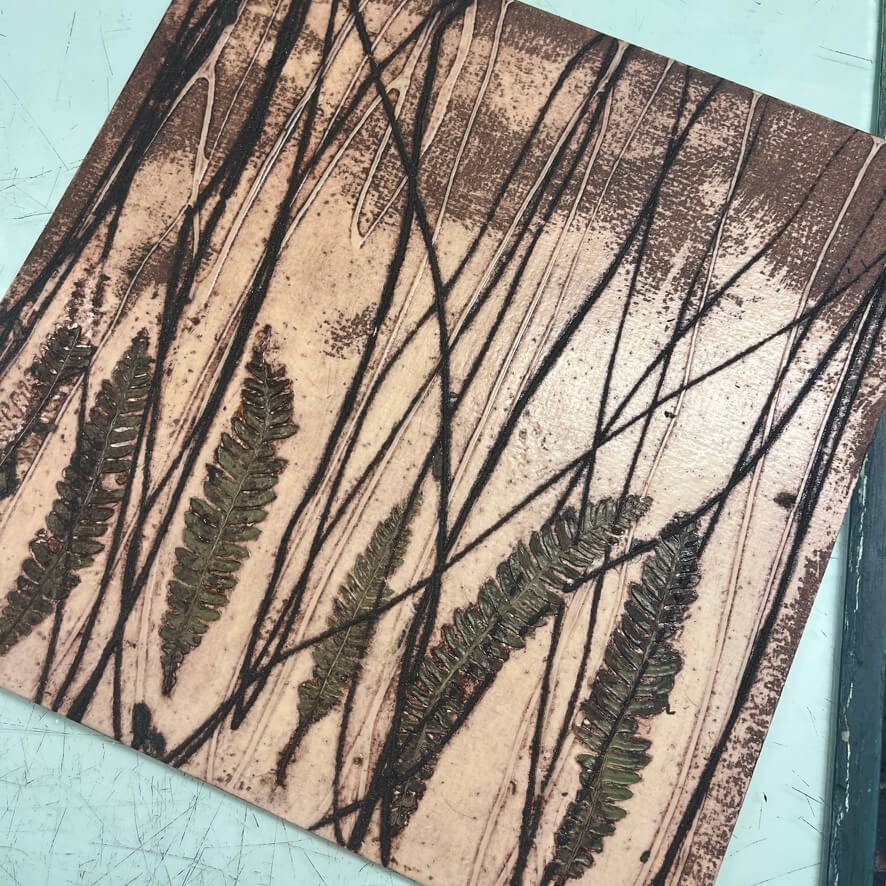
This was the plate after the first pull for the first proof. You can just see on the edge of the left side how the fern came away from the surface.
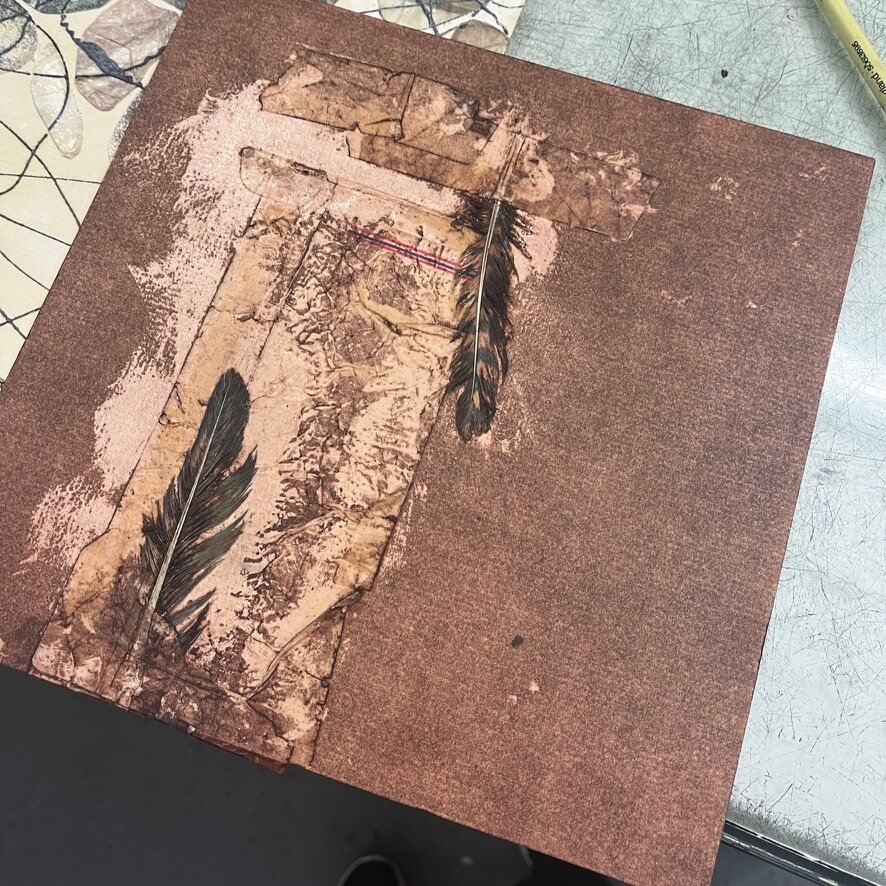
This was the second plate after the first proof was pulled.

The first proof from the second plate. Lovely rich detail came through from the feathers and surface of the envelope.
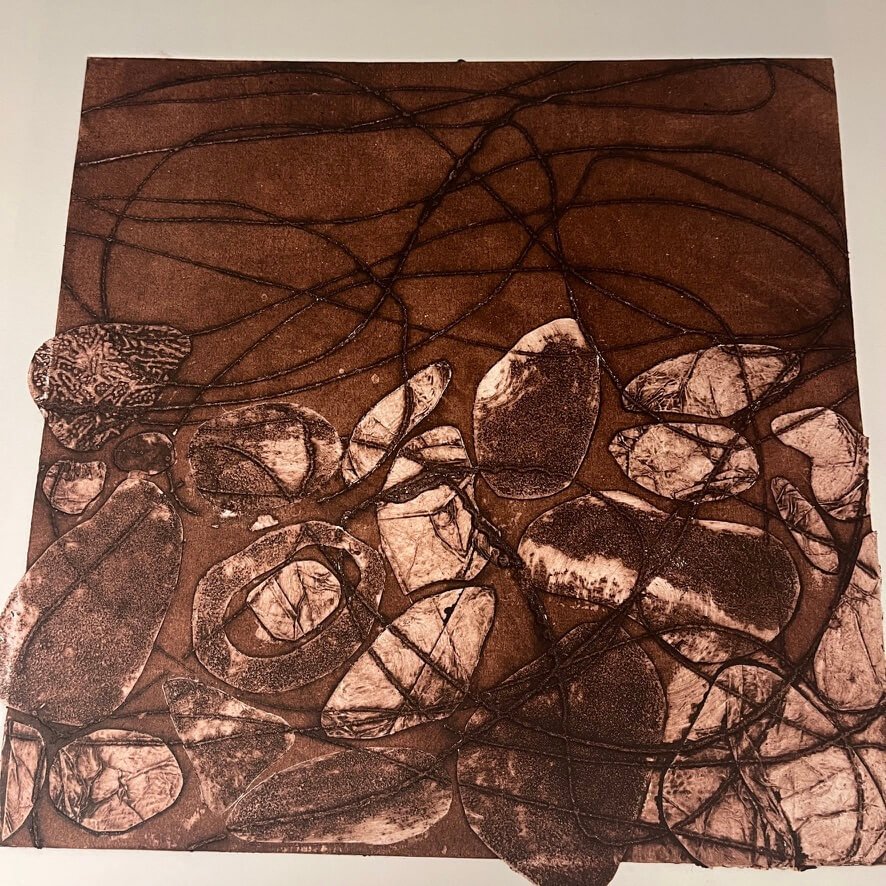
First proof from the third plate. The ink would have benefited from some extender to get more variation in tone on the carborundum and background. You can’t see that some of the stones came off because of the acetate so they had to be positioned individually before printing.

This was the plate after the first proof was pulled. I was quite pleased with how the pebbles with tissue paper turned out.
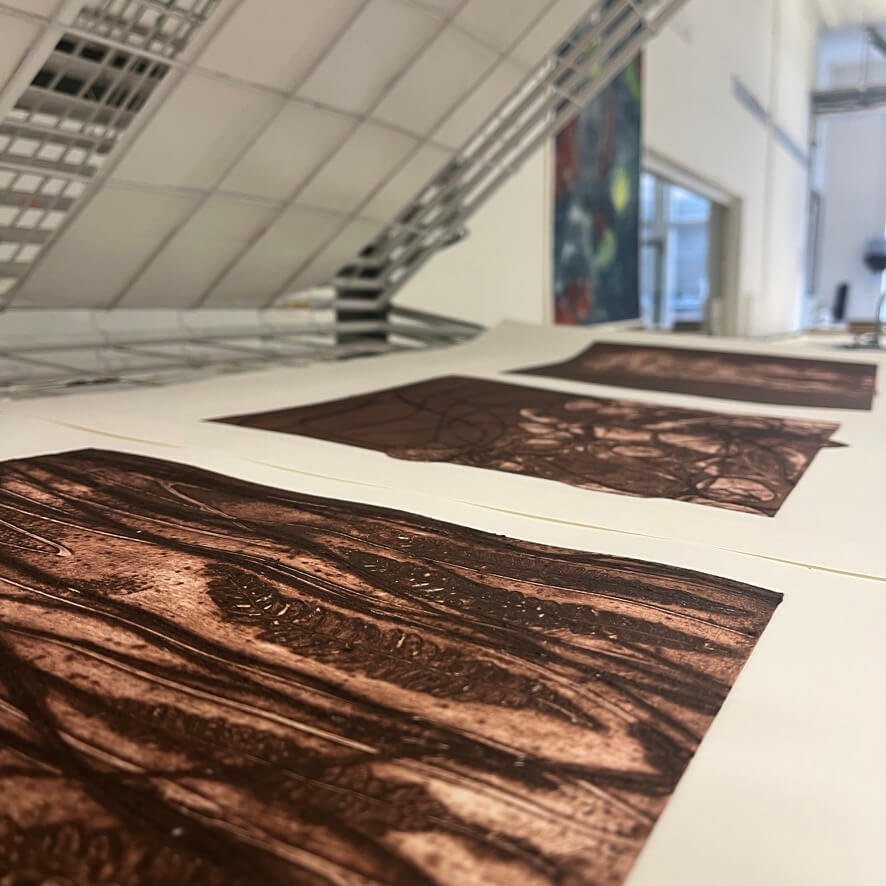
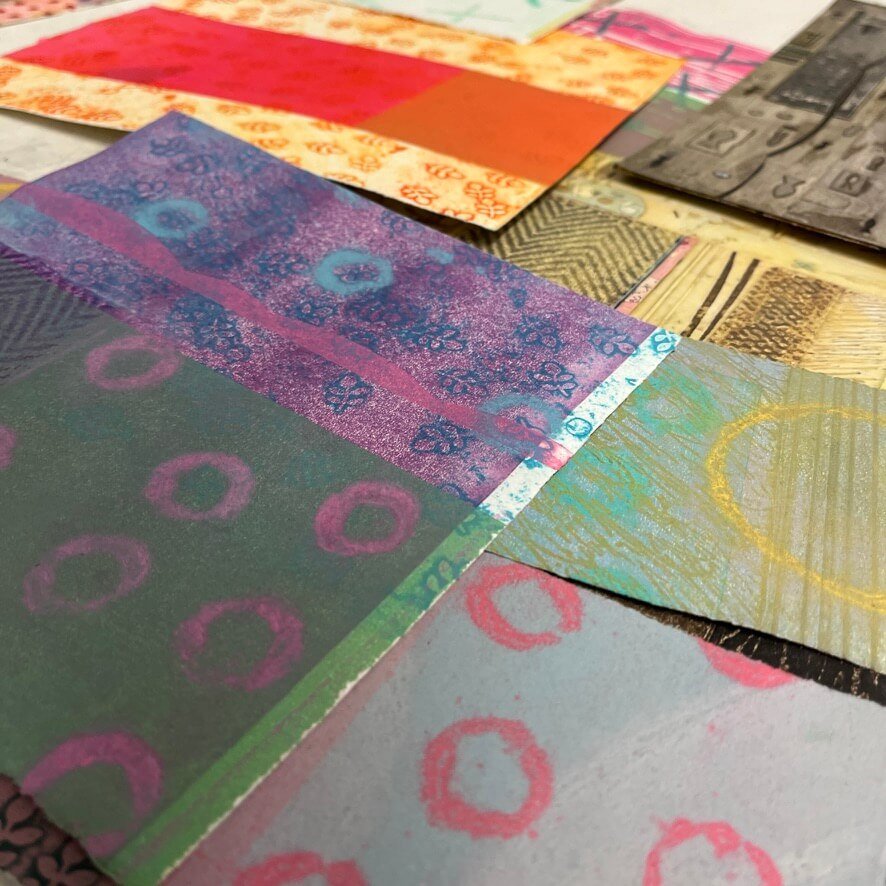
Three proofs on the drying rack
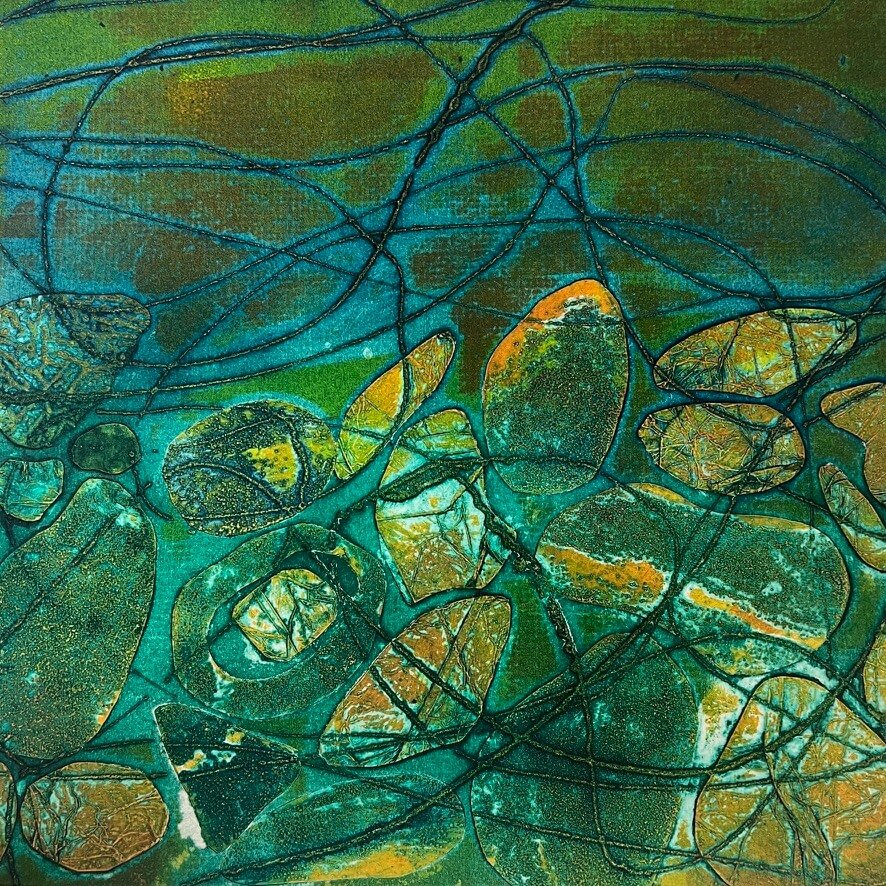
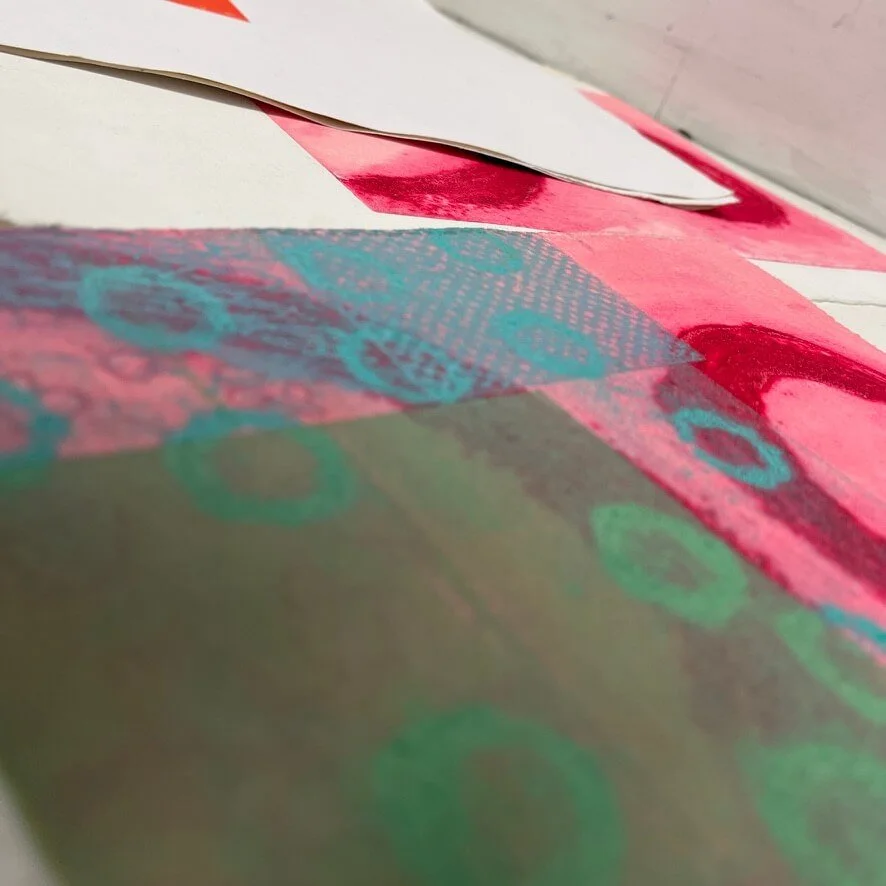
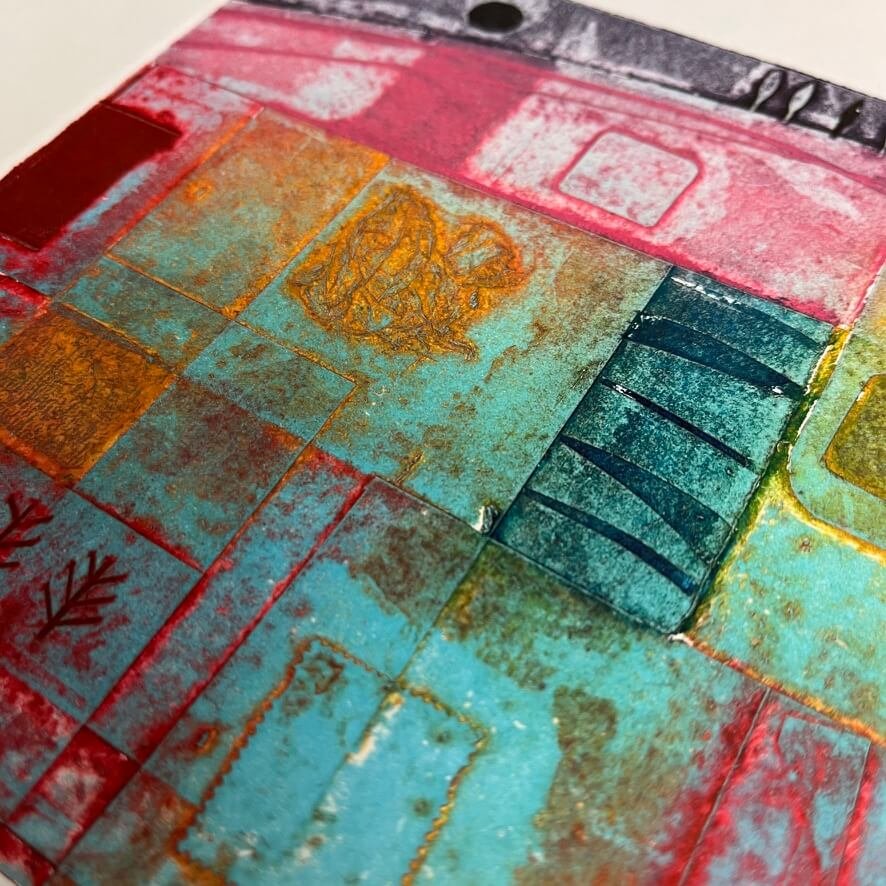
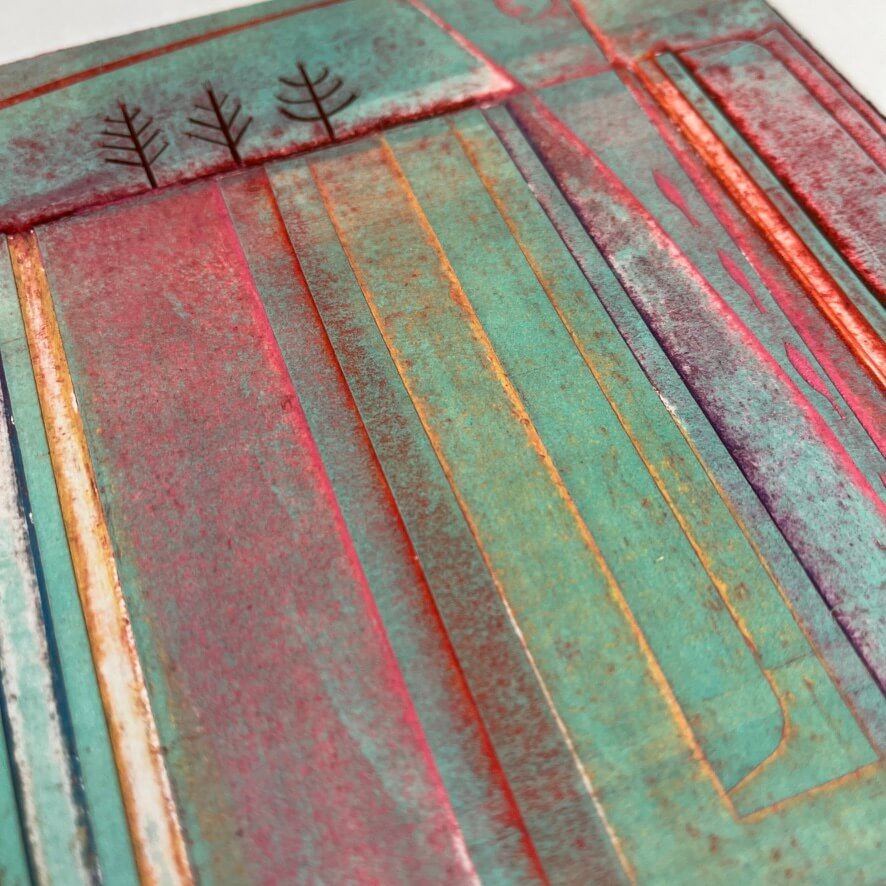
The first viscosity colour proof. Again I was very dissatisfied with the inks. They would have again benefited from more extender in them but there is plenty to work with here.
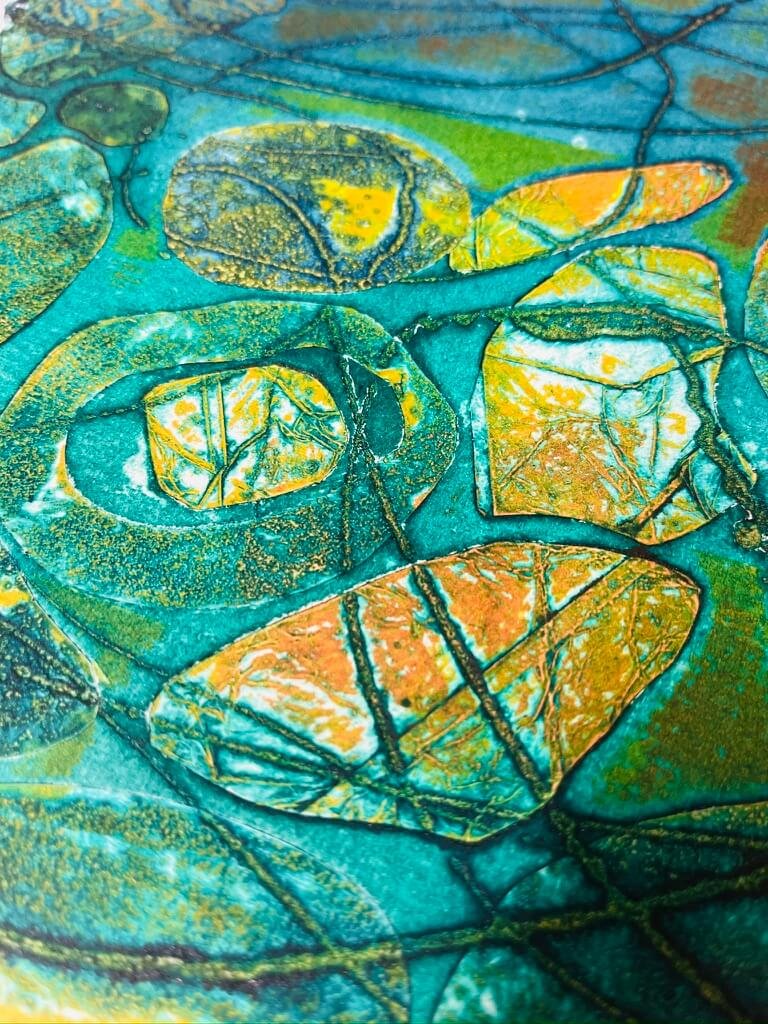
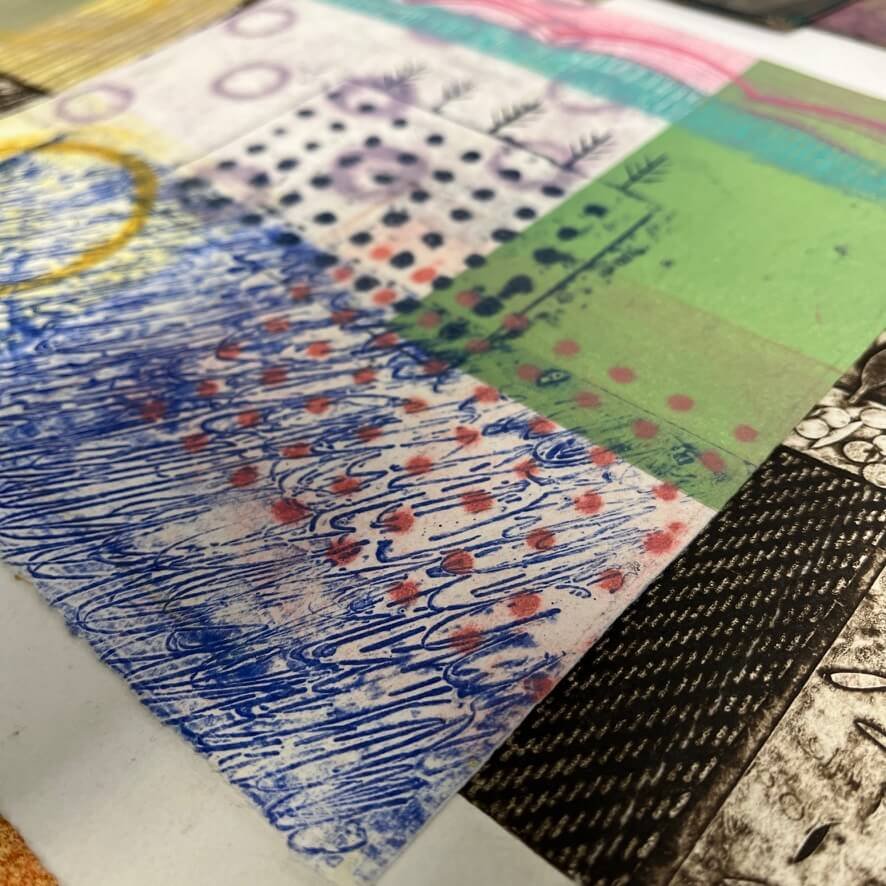
These are close up details of the viscosity colour which worked quite well.

I would like to bring out more subtlety though.