Collagraphs: My Own Printmaking Process
Collagraphs: An Explanation and How-To Guide - Part 2
11 August 2023

The collagraph plate inked up ready for the final layer
In my artistic process, I have developed a technique that combines monotype and collagraph printmaking to create unique and variable edition prints. Here is a breakdown of the stages I follow:
Stage 1:
Create a collagraph plate and ink it up in a single colour for a proofing run.
Keep the paper trapped between the press rollers.
Stage 2: There are two options to proceed:
Option 1:
Place a blank mount board, identical in size to the original collagraph plate, in the same position.
Cover it with the trapped print that has wet ink on top.
Run it through the press again to transfer the wet ink onto the blank mount board.
Once the offset image is dry, seal the plate with your chosen sealant.
This plate can now be used for monotype inking, and the offset image helps guide the placement of colours and areas to be wiped back.
Option 2:
Place a sheet of blank newsprint on the press bed and cover it with the trapped print, then run it through the press.
The offset image will transfer to the paper.
Place the printed offset image under a sheet of perspex on the press bed and directly ink up the perspex on top.
This method works well with transparent inks that allow you to see through and make decisions on where to wipe back the colour.
If using opaque inks, using a lightbox can help provide visibility of the image.
Stage 3:

Spot the mistake!
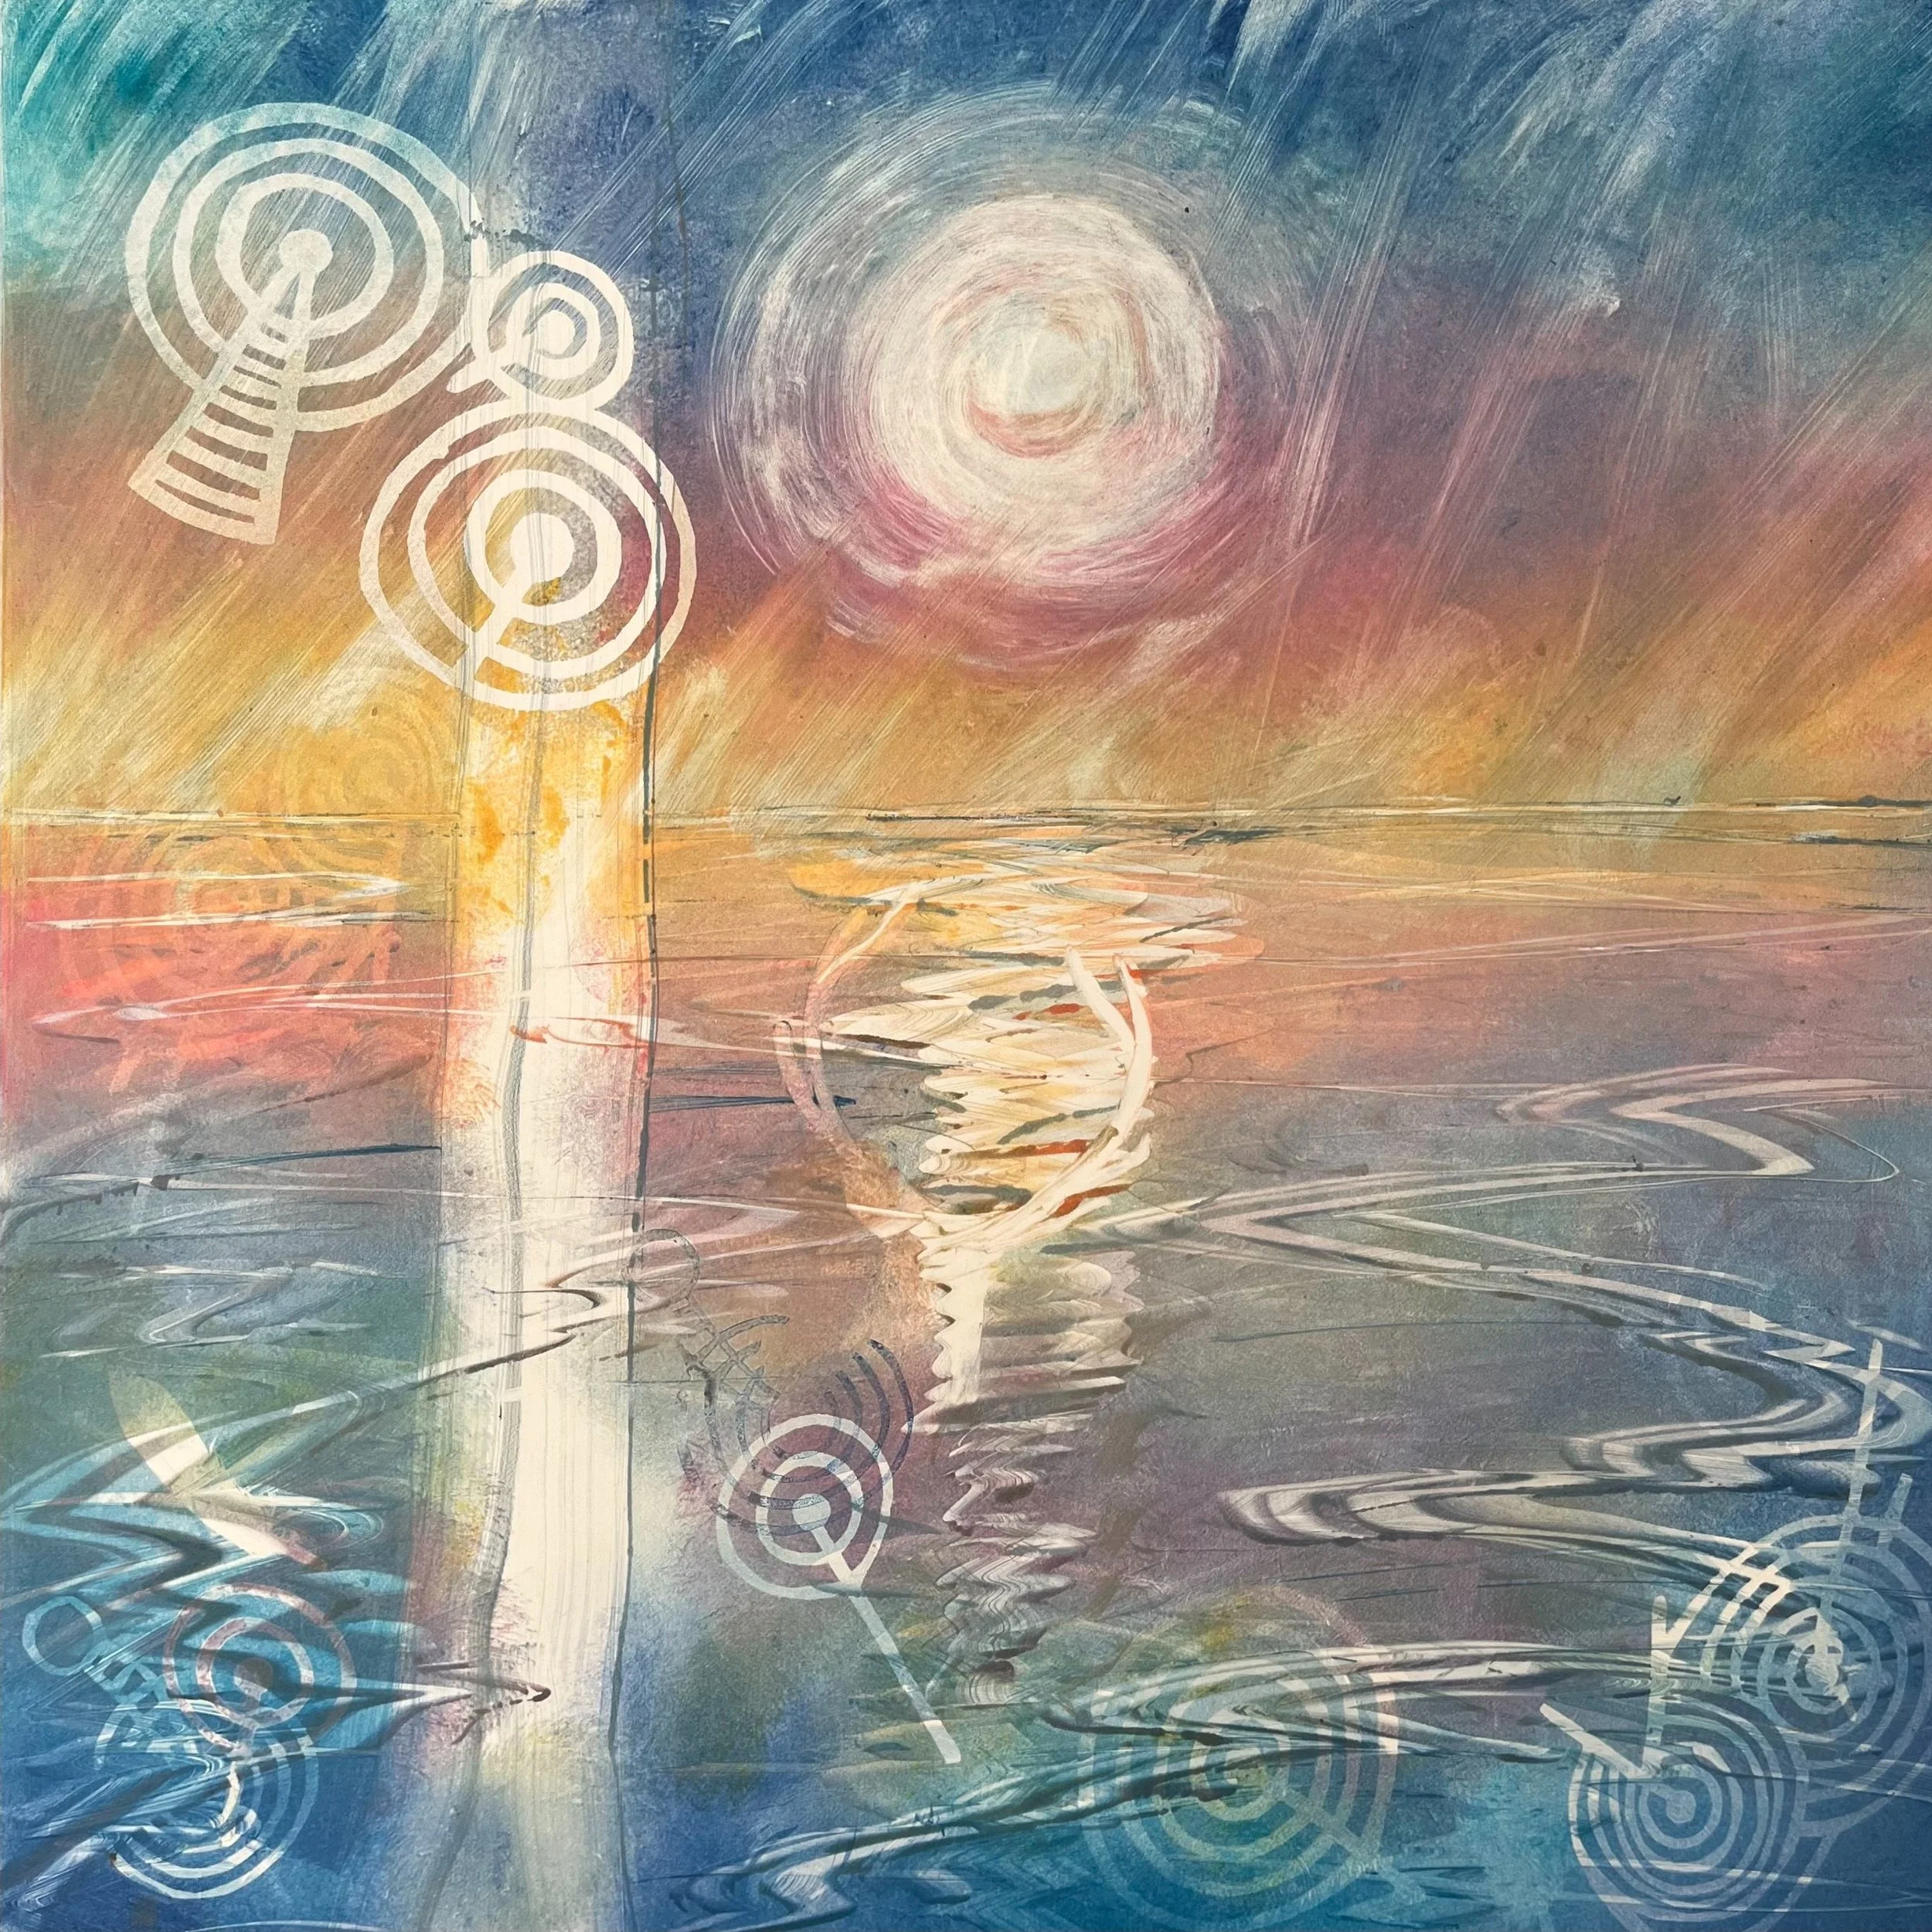
After adding multiple monotype layers laid down ready for the final collagraph print layer I realised I’d done them the wrong way around
With this method, multiple layers of monotype can be printed before adding the final collagraph layer. The order in which the monotype and collagraph layers are printed can be experimented with. This approach allows for the creation of an edition of prints, each one completely unique. Ink up the collagraph plate as desired, exploring both intaglio and relief inking techniques, and set it aside.
Ink up the sealed plate with the offset image for the first monotype layer, selectively wiping back areas.
Print the plate.
Keep the damp paper trapped between the press rollers, cover it with a blanket to maintain moisture, and ink up the plate again.
Repeat this step several times, deciding when to stop based on the desired complexity.
Wipe back different parts of the plate with each layer to reveal the colours and marks from the previous layers.
Ensure the plate is registered precisely in the same spot as before for accurate alignment with the previous print.
Found materials can also be used as masks at each stage to introduce patterns and textures.
Stage 4:

Success!

Proof
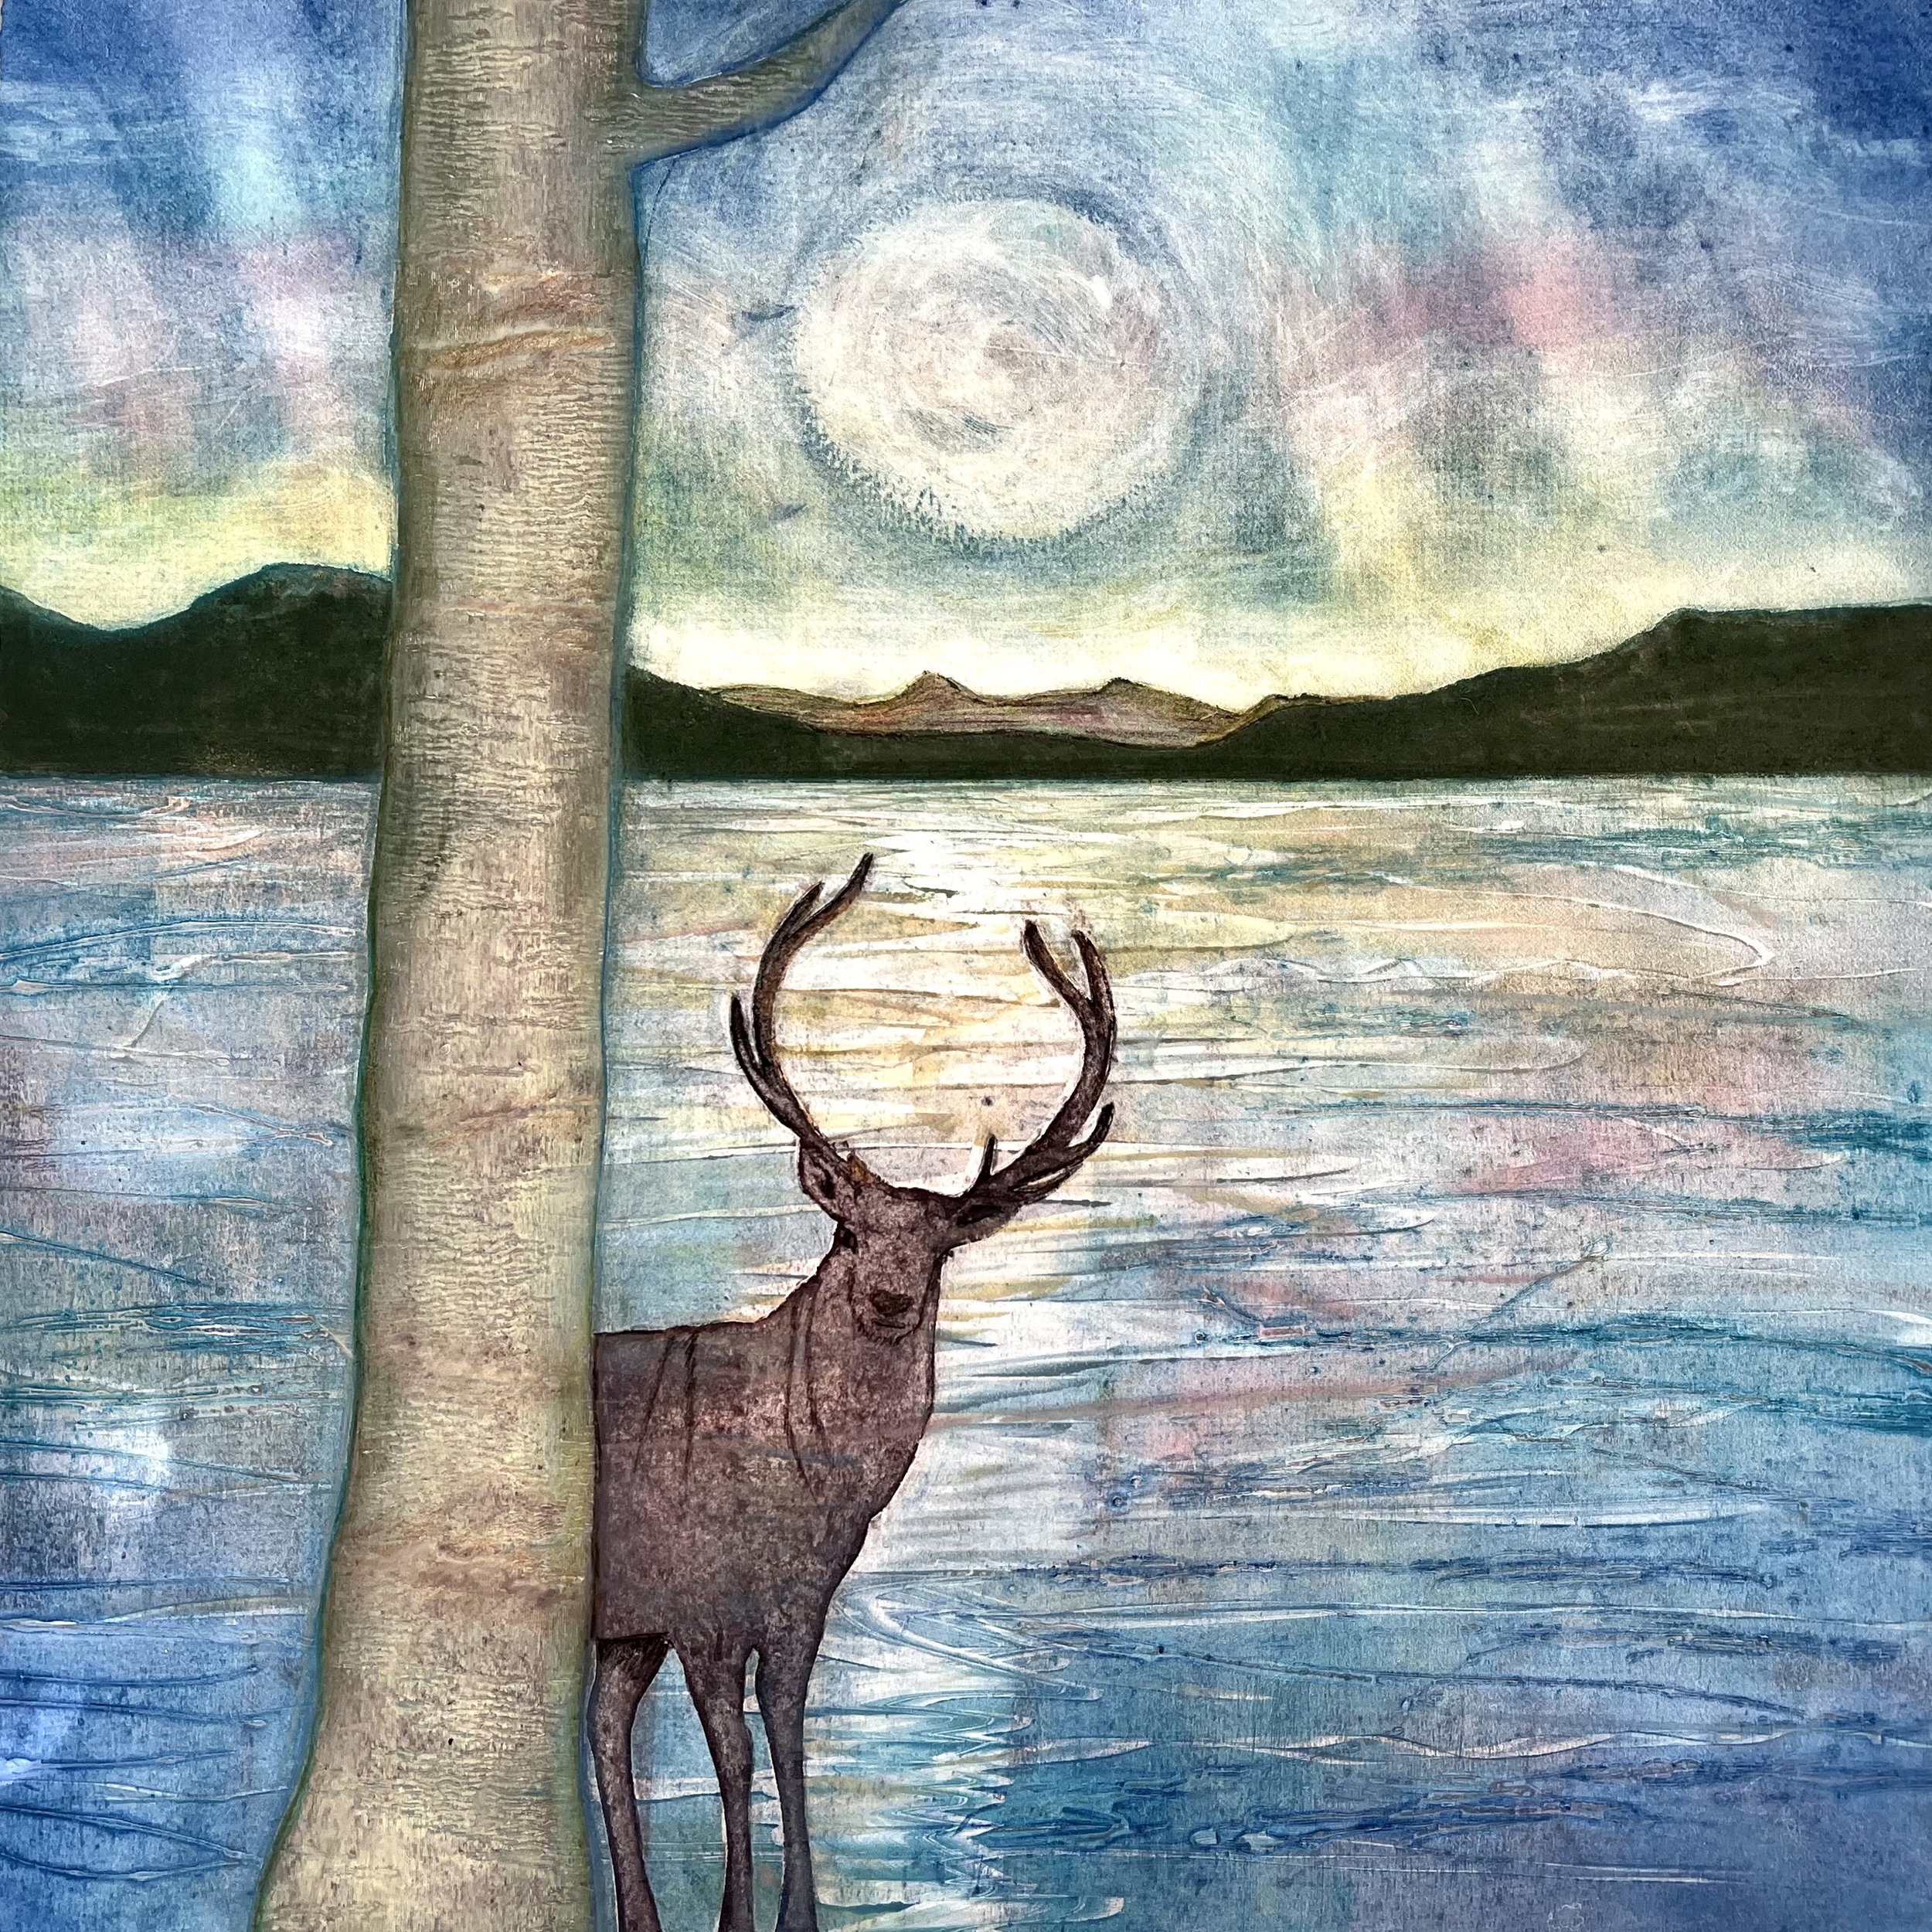
First attempt

Second attempt with both hand cut masks and natural materials.
Print the collagraph plate at the final stage.
Since it was inked up earlier, it is ready to replace the monotype plate or be placed directly over the print under the perspex.
Found materials can be used on top of the inked-up plate as masks to allow certain details from previous layers to show through.
And there you have it in a nutshell!